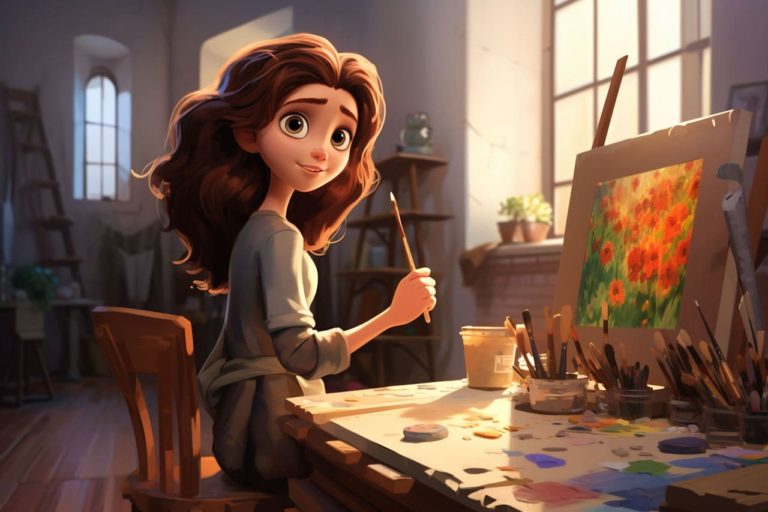
Hey there, aspiring artists and accidental paint spillers! So, you’ve decided to dip your toes (and brushes) into the enchanting waters of watercolor painting. Congratulations! You’re about to embark on a journey that’s part masterpiece, part mess-tastrophe. But fear not, because whether you’re aiming to recreate the Mona Lisa or just trying not to paint your cat neon green, we’ve got your back.
The Palette Predicament: Why Are There So Many Colors?
First things first, let’s talk about the mind-boggling variety of colors that watercolor artists have at their disposal. If you’ve ever wandered down the paint aisle at an art store, you’ve probably felt a bit like a lost puppy in a kaleidoscope candy store. Seriously, there are more shades of blue than there are words in this sentence.
Now, you might think, “Oh, I’ll just buy all the colors and mix my way to artistic fame!” But let’s not go painting the Sistine Chapel just yet. Start with a basic set of primary colors—red, blue, and yellow. Yeah, like those kindergarten lessons, only with the potential to create art that doesn’t end up on the fridge.
Brushes: Not Just for Hair and Dramatic Exits
Ah, brushes! Those mystical wands that transform color blobs into strokes of genius. But hold on, cowboy! Before you go waving brushes around like Harry Potter casting spells, let’s talk about brush types.
You’ve got your big, fluffy brushes for those broad strokes that say, “I meant to paint the entire sky in one go.” Then there’s the fine-tipped brushes for those moments when you need to channel your inner Michelangelo and paint tiny, intricate details without going cross-eyed. And don’t forget the flat brushes that can cover large areas with the grace of a runaway bulldozer.
Paper: Not Just for Scribbles and Crumpling
Choosing the right paper for your watercolor masterpiece is like choosing a runway for your art to strut its stuff on. You’ve got different textures, weights, and even paper made from unicorn whispers (just kidding, but wouldn’t that be amazing?).
Cold-pressed paper is like that comfy old sweater—it’s textured and great for most projects. Hot-pressed paper, on the other hand, is like a crisp white shirt—smooth and perfect for intricate details. And if you’re feeling extra fancy, there’s even watercolor paper with deckled edges that look like they were handcrafted by magical fairies.
Mastering the Wet-on-Wet Waltz
Now, let’s talk techniques, shall we? One of the classics in the watercolor dance is the “wet-on-wet” technique. It’s like letting your colors have a pool party on the paper. You wet the paper first (not with your tears, though that’s an option), and then drop in colors that swirl, mingle, and create beautifully unpredictable effects.
Think of it as a collaboration between your paint and the paper—a spontaneous masterpiece that often ends up looking like a Rorschach inkblot test, but in a good way.
The Art of Happy Accidents: Embracing Watercolor Surprises
In watercolor, accidents aren’t just allowed; they’re celebrated with confetti and imaginary high-fives. That blob that you dropped accidentally? Turn it into a flower. That brushstroke that went a little rogue? Transform it into a whimsical tree branch.
Remember, watercolors are like that unpredictable friend who always spices up the party. So, don’t be afraid to let go and let the paint do its thing. Sometimes, the best moments on the canvas come from happy accidents that make you go, “Wow, I totally meant to do that.”
Techniques: From Splatters to Magic Wand Swishes
Speaking of techniques, let’s explore some more, shall we? There’s the “wet-on-dry” technique, where you apply wet paint onto dry paper, resulting in crisp edges and controlled details. It’s like telling your paint, “Stay within the lines, buddy.”
Then, there’s the splatter technique, which involves channeling your inner Jackson Pollock and flinging paint onto the paper for an artsy chaos that screams, “I’m a sophisticated artist with a wild side.” And let’s not forget the magic wand swishes (not actual magic wands, sorry)—a graceful stroke that can create everything from flowing hair to windswept landscapes.
Patience, Grasshopper: The Drying Game
Ah, patience, the virtue that watercolor painting demands. You see, watercolors are like rebellious teenagers—they need their space and time to dry and set. If you’re the type to hover over your artwork like a helicopter parent, you might end up with smudges that rival a Rorschach test.
So, resist the urge to poke, prod, or fan your masterpiece like you’re trying to summon a genie. Let it dry peacefully, and in the meantime, go grab a snack, watch a movie, or take up knitting. Your art will thank you with vibrant colors that stay put.
Splattering, Swirling, and Swooshing into Watercolor Wonderland
And there you have it, intrepid explorers of the art realm—your beginner’s guide to watercolor painting! It’s a world where colors collide, brushes waltz, and happy accidents turn blobs into brilliance. Remember, art is a journey, not a destination, and watercolors are your trusty sidekicks on this colorful adventure.
So, go forth and embrace the splatters, the swirls, and the swooshes. Let your creativity flow like an uncontainable river, and revel in the joy of discovering your own unique artistic voice—one watercolor wash at a time.
